
Genshin Impact: Furnace of Fiery Embers (I) Puzzle Guide
Master Genshin Impact's Furnace of Fiery Embers puzzles in Ochkanatlan with Relay Balls, Ball Path Converters, and Iridescent Inscriptions.
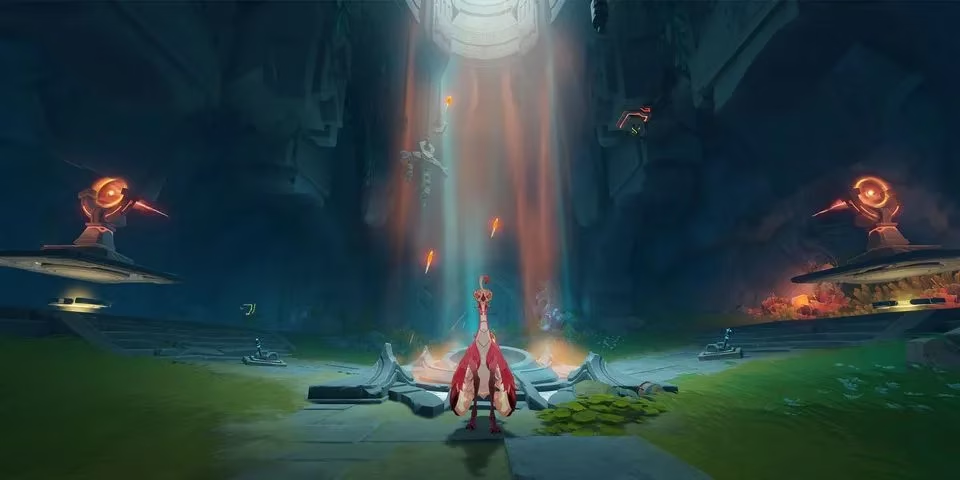
The Furnace of Fiery Embers puzzles in Genshin Impact have remained a highlight of exploration in Ochkanatlan, even as 2026 brings new updates and regions to Teyvat. These puzzles challenge adventurers to manipulate Relay Balls, Ball Path Converters, and Iridescent Inscriptions across cleverly designed chambers. The first puzzle, Furnace of Fiery Embers (I), serves as an excellent introduction to the mechanics. Solving it yields a Precious Chest, and completing all five furnaces unlocks the Flute of Ezpitzal, a forgeable weapon, along with the Embers Rekindled achievement. The guide below describes the full process in third person, so any Traveler can follow the steps without confusion.
Rewards and Overview
| Reward | Type | Notes |
|---|---|---|
| Precious Chest | Loot | Granted after solving Furnace (I) |
| Luxurious Chest | Loot | Found in other Furnace puzzles |
| Flute of Ezpitzal | Forgeable Weapon | Unlocked after all five puzzles |
| Embers Rekindled | Achievement | Completed after all five puzzles |
The Furnace of Fiery Embers puzzles are scattered across Ochkanatlan. Each one uses similar components but increases in complexity. The first puzzle focuses on timing, transformation, and spatial reasoning. It also introduces the Yumkasaurus transformation, which is essential for passing quickly through closing gates.
Step-by-Step Solution for Furnace (I)
-
Travel to the western Waypoints. The player should aim for the three Waypoints located at the far west of Ochkanatlan. The middle Waypoint is the correct starting point. After teleporting there, the Traveler looks to their right and spots an Iridescent Inscription shimmering in the open. Touching it gently teleports them inside the first Furnace of Fiery Embers.
-
Interact with the first inscription. Inside the chamber, the Iridescent Inscription waits ahead. As the player approaches, it rises and seals a gate behind it. This is where the Yumkasaurus transformation becomes necessary. The player transforms into a Yumkasaurus and interacts with the key behind them. This action partially opens two gates. They must dash through before the gates close.
-
Reopen the gate and grab the red Relay Ball. After dashing through, the player interacts with the key again to reopen the gate for their exit. Before leaving, they grab the red Relay Ball and aim it at the red platform. This unlocks the gate that the Iridescent Inscription just passed through.
-
Chase the inscription down the new path. The player follows the cheeky Inscription down the newly opened path. A lift carries them to a fresh puzzle area. This area contains a blue Relay Ball, two red platforms, and three Ball Path Converters. These converters transform the blue orb into a fiery red one.
-
Solve the first converter sequence. The player pursues the Iridescent Inscription until it reaches a closed gate. They rotate the Ball Path Converters to point at the red platform above that gate. Then they grab the blue Relay Ball and launch it at the converter. They must be ready to open the gate quickly so the red Relay Ball can fly through. Once the gate is open, the Iridescent Inscription returns to the center of the arena.
-
Combine the first and second inscriptions. With the first Iridescent Inscription in hand, the player meshes it with the second one located in the area. They start by twisting the Ball Path Converters on either side so they face one another. They fire a blue Relay Ball at one of the converters. It bounces to the other side, turning red in the process.
-
Use the ceiling hook. Above the right converter, a hook hangs from the ceiling. The player interacts with it, and a third mechanism descends. This mechanism shoots the red Relay Ball into the red platform at the center. The gate opens, granting access to the second Iridescent Inscription.
-
Complete the puzzle. By successfully combining the two Iridescent Inscriptions at the chamber’s center, the player completes the first Furnace of Fiery Embers puzzle. A Precious Chest appears as a reward. A gust of wind also spawns after completion. This wind helps guide the Traveler to various other locations in the vicinity.
Tips for Completion
-
⏱️ Timing is critical when dashing through partially opened gates. The Yumkasaurus transformation makes this much easier.
-
🔴 Relay Balls can change color when passing through Ball Path Converters. Players should track whether they need a blue or red ball for each platform.
-
🧭 The gust of wind after the puzzle is not just decorative. It points toward other Furnace locations and nearby points of interest.
-
🏆 Solving all five Furnace of Fiery Embers puzzles is required for the Flute of Ezpitzal and the Embers Rekindled achievement.
Why This Puzzle Matters in 2026
Even in 2026, with Genshin Impact's expanding map and new characters, Ochkanatlan remains a rewarding destination. The Furnace of Fiery Embers (I) puzzle teaches mechanics that appear in later puzzles, so completing it early benefits any adventurer. The Precious Chest provides valuable resources, and the achievement progress brings players closer to the Flute of Ezpitzal. For completionists, the five furnaces are a must-do activity. The puzzle design also showcases Genshin Impact's strength in environmental storytelling and interactive exploration.
In summary, the Furnace of Fiery Embers (I) puzzle is a satisfying challenge. It requires observation, quick movement, and careful use of Relay Balls and Ball Path Converters. With the steps above, any Traveler can solve it efficiently and claim the rewards. After finishing, they should seek out the remaining furnaces to unlock the full set of prizes and the Embers Rekindled achievement. The journey through Ochkanatlan continues to offer memorable adventures for all players.
This assessment draws from HowLongToBeat completion-time data, which can help Travelers pace longer Ochkanatlan detours like the Furnace of Fiery Embers sequence. When tackling multi-room puzzles that involve backtracking for Relay Balls, rotating Ball Path Converters, and timed gate dashes (especially with transformation mechanics), having a realistic sense of exploration vs. objective time makes it easier to plan efficient chest runs and achievement progress without losing momentum.