The Ultimate Guide to Completing Infinity Nikki's Expedition Handbook in Wishfield
Master the Infinity Nikki Expedition Handbook with this definitive guide to all 40 Wishfield photo locations. Unlock essential camera upgrades and conquer the LuminaLens Touring Photographers' challenge effortlessly.
As a dedicated player of Infinity Nikki, I've spent countless hours exploring the vast and beautiful region of Wishfield. One of the most rewarding, yet time-consuming, activities is completing the Expedition Handbook. With 40 unique photo locations to discover, it's a journey that can feel overwhelming without a proper guide. But fear not, fellow stylists, for I've compiled everything you need to know to fill every page of that handbook and claim your rewards. Let's embark on this photographic expedition together.
📸 Mastering the Basics: How to Add Photos
Before you can become a master photographer for the LuminaLens Touring Photographers, you must first unlock the Expedition Handbook. This happens naturally after you've taken a number of pictures with Momo's camera. Once unlocked, the real work begins. The process is simple but has one crucial, easily missed step.
-
Find the Prompt: When you arrive at a designated location, a camera icon prompt will appear on the left side of your screen alongside your quest log.
-
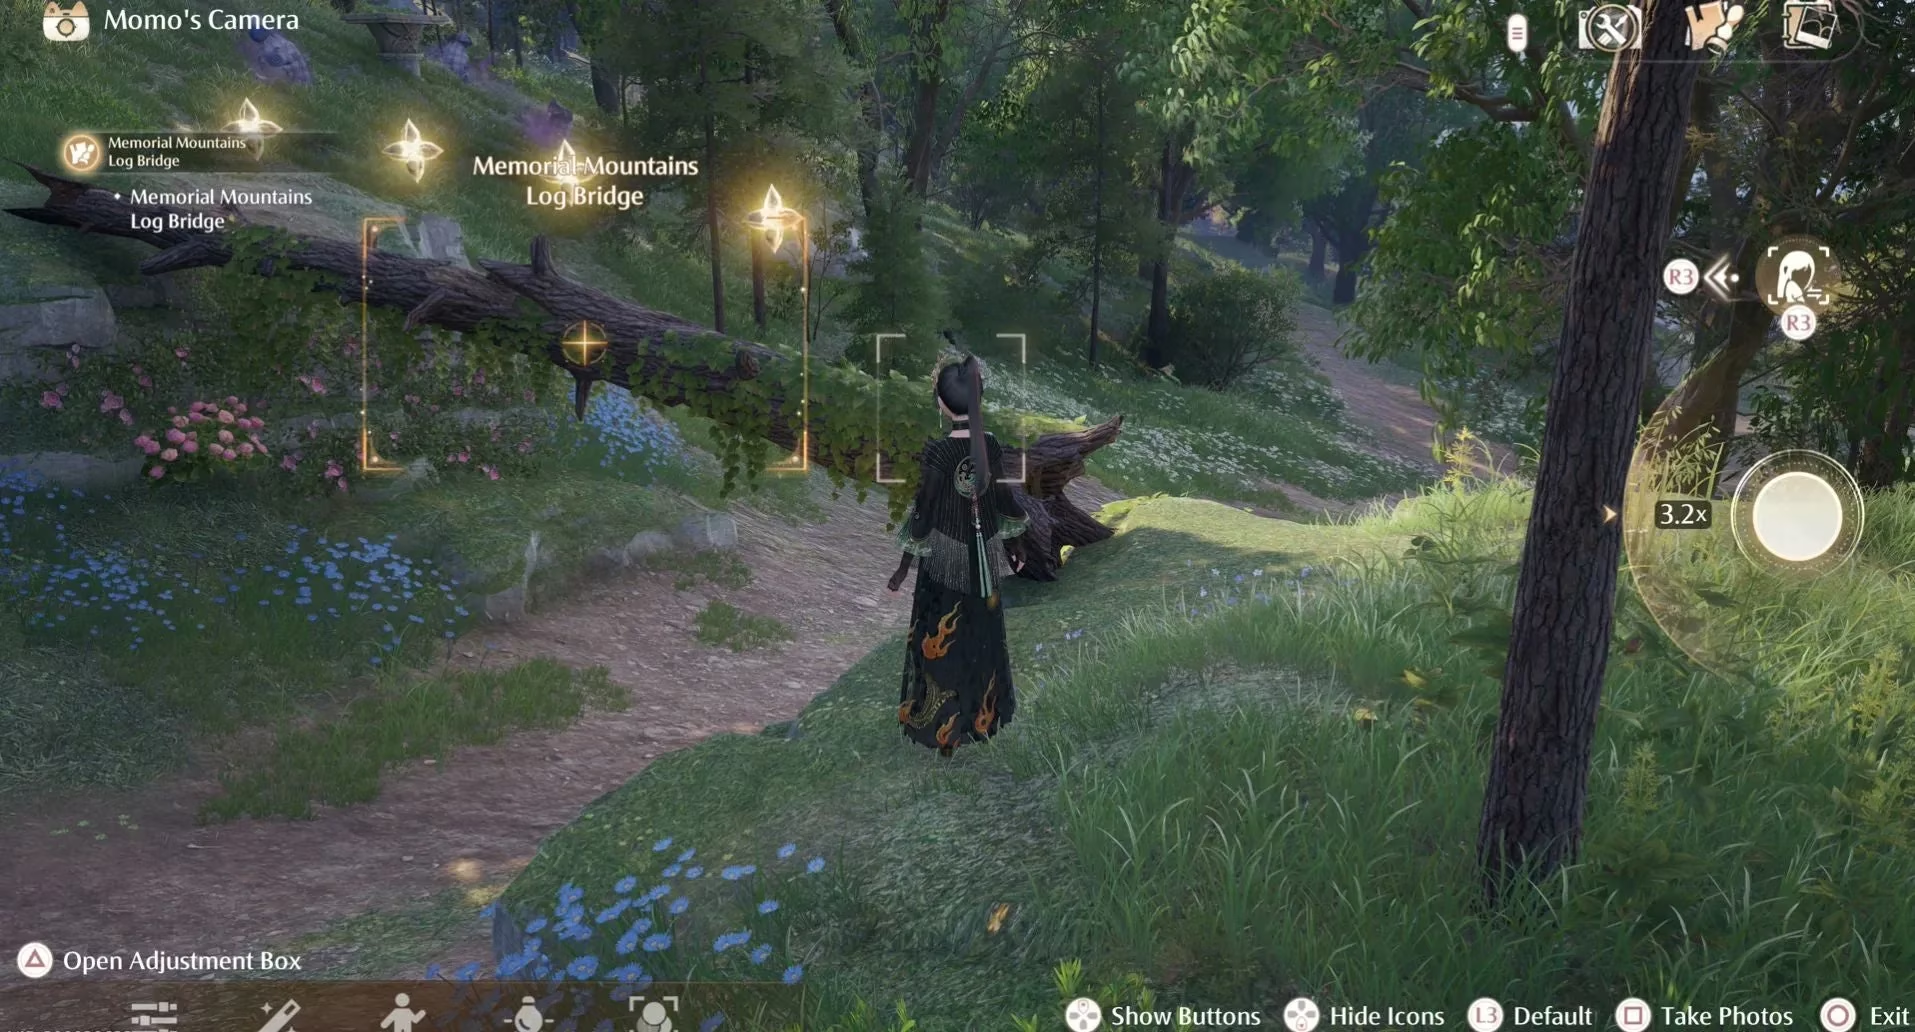
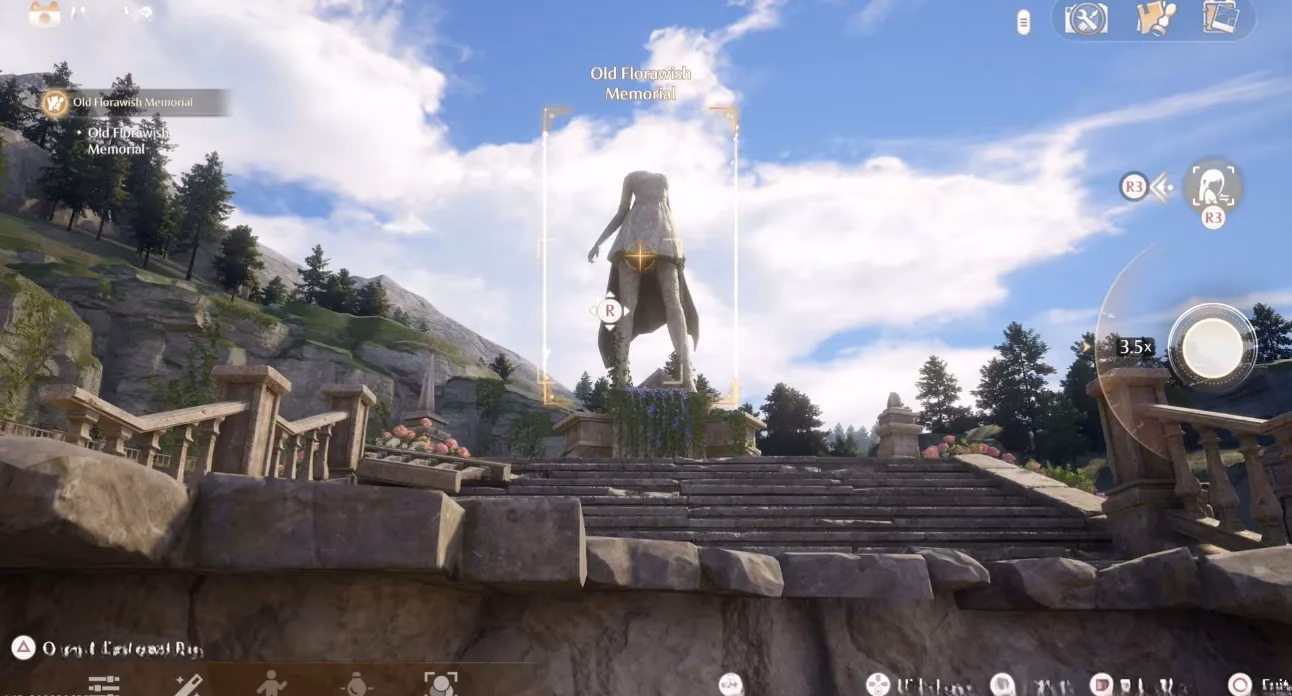
Frame the Shot: Pull out your camera! You must position the main subject of the prompt within your frame. When done correctly, a golden box with the location's name will highlight the subject.
-
Take the Photo: It doesn't have to be a masterpiece. A simple shot of the subject will do. Pro tip: Use the camera settings to hide Nikki if she's blocking the view.
-
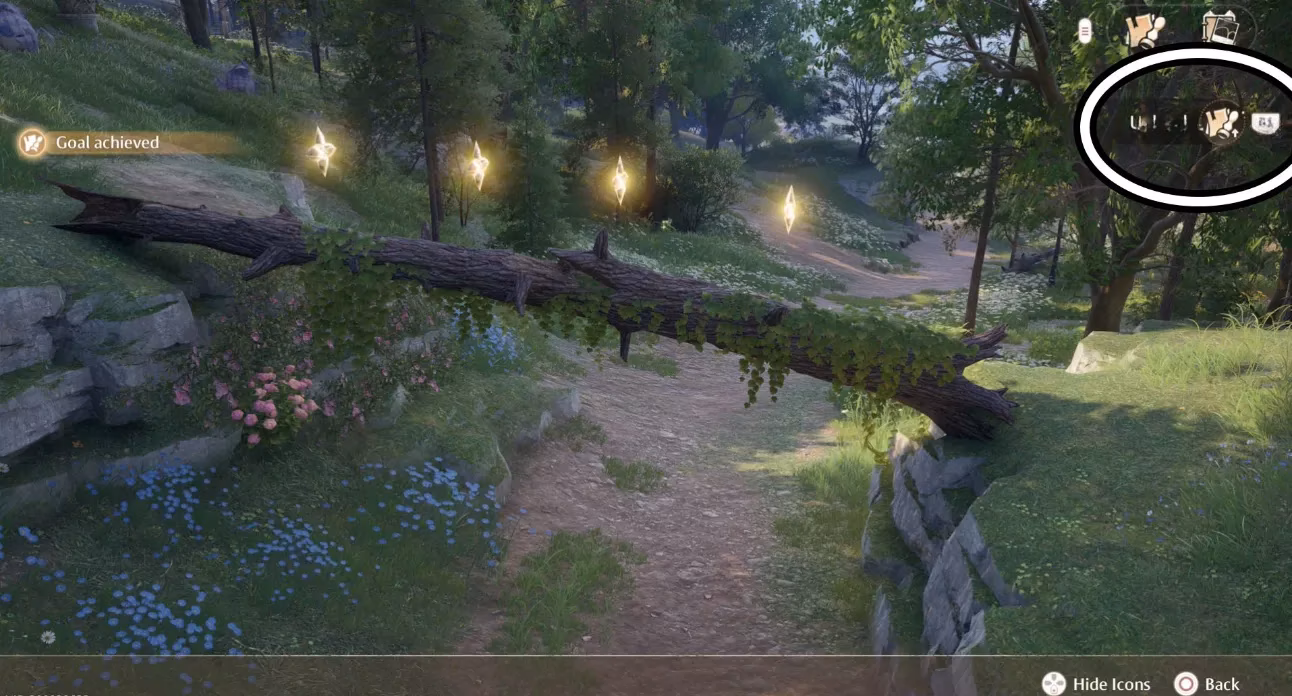
THE CRITICAL STEP - UPLOAD: After taking the photo, you must press the 'Upload' button on the right-hand side. If you don't, the photo will not be registered in your handbook, and you'll have to retake it. Don't let your perfect shot go to waste!
For every successful upload, you are rewarded with three Upgrade Packs, which are essential for unlocking new camera modifications like lighting, poses, and filters.
🗺️ The Grand Tour: All 40 Photo Locations
Here is your comprehensive checklist, organized by area. Remember, some locations are locked behind story progression in Infinity Nikki, so I've noted the chapter requirements where necessary.
Memorial Mountains & Florawish (Locations 1-15)
These early-game spots are accessible as you begin your adventure.
-
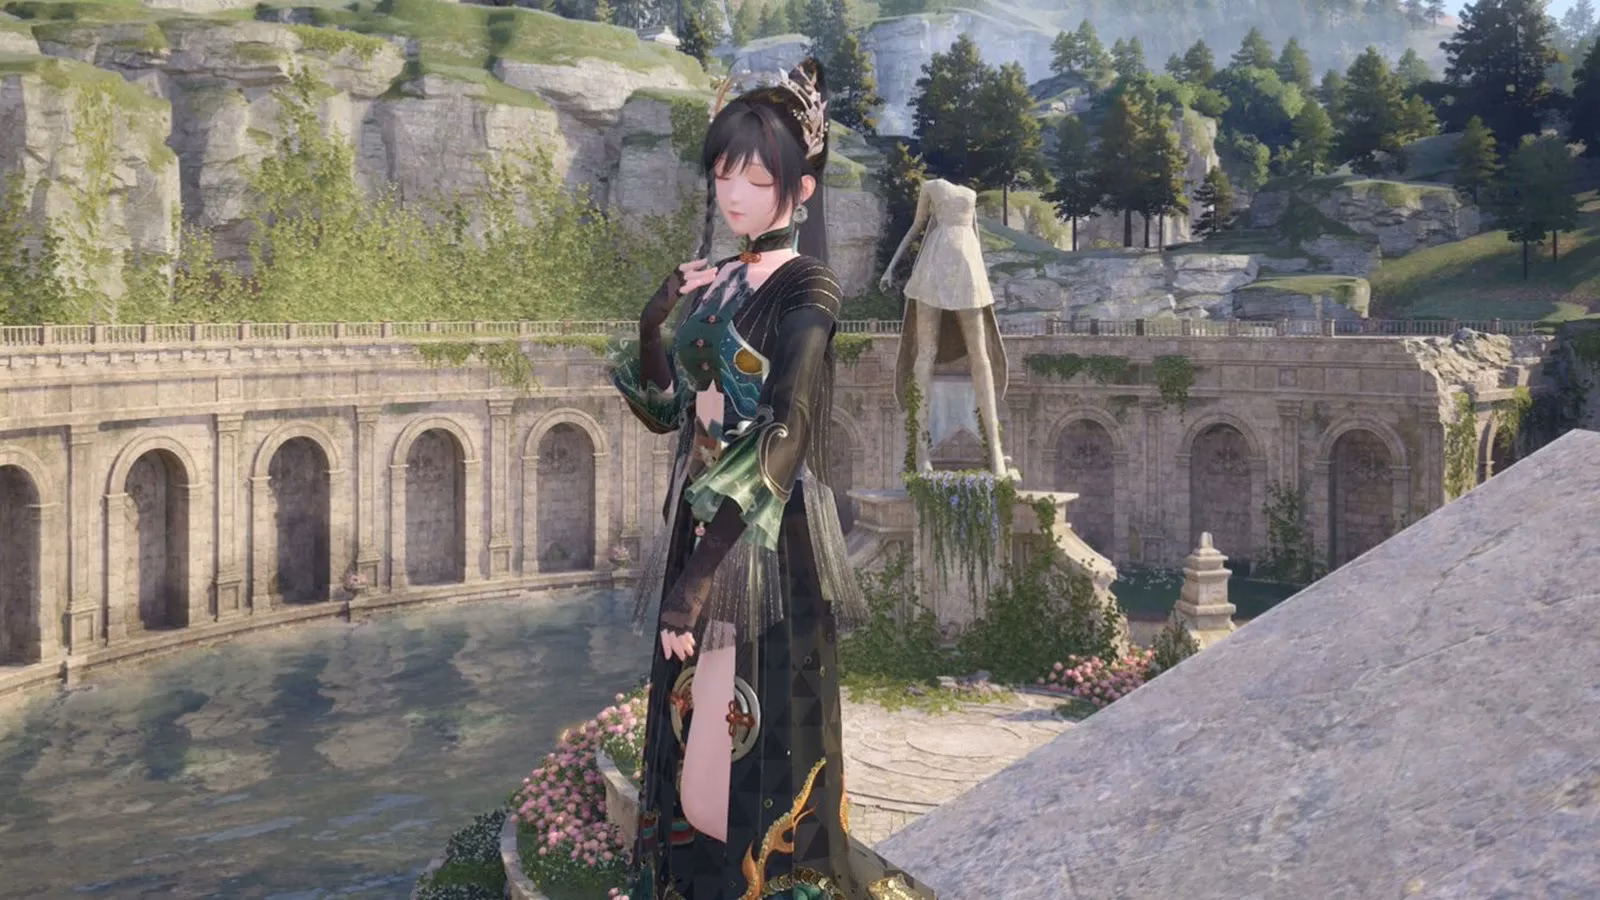
1. Old Florawish Memorial: Found in the Memorial Mountains, south of where Nikki first enters Miraland. It's also where you meet Kilo the Cadenceborn.
-
2. Memorial Mountains Log Bridge: On the path down from the mountains to Florawish, southwest of the border mini-game.
-
3. Florawish Swing: Head south from the Stylists Guild; it's outside the first building on the right.
-
4. Mayor's Residence Statue: Right outside the Mayor's Residence in Florawish.
-
5. Stone Bridge Restaurant: The eatery on the eastern side of Florawish's stone bridge.
-
6. Wishing Tree Swing: On the overlook directly south of the Wishing Tree.
-
7. Lakeside Picnic: Southwest of the Mayor's Residence, in the field between three lakeside buildings. Look for a picnic blanket or a lantern.
-
8. Lakeside Bench: Directly south of the Mayor's Residence, a stone platform north of the large pier.
-
9. Hidden Graffiti: At the foot of the stone steps directly south of the Wishing Tree.
-
10. Dream Warehouse Arch: In the circular plaza next to the Dream Warehouse.
-
11. Warehouse Cavern Entrance: North of the Secret Base Warp Spire. Follow the cliff north at ground level.
-
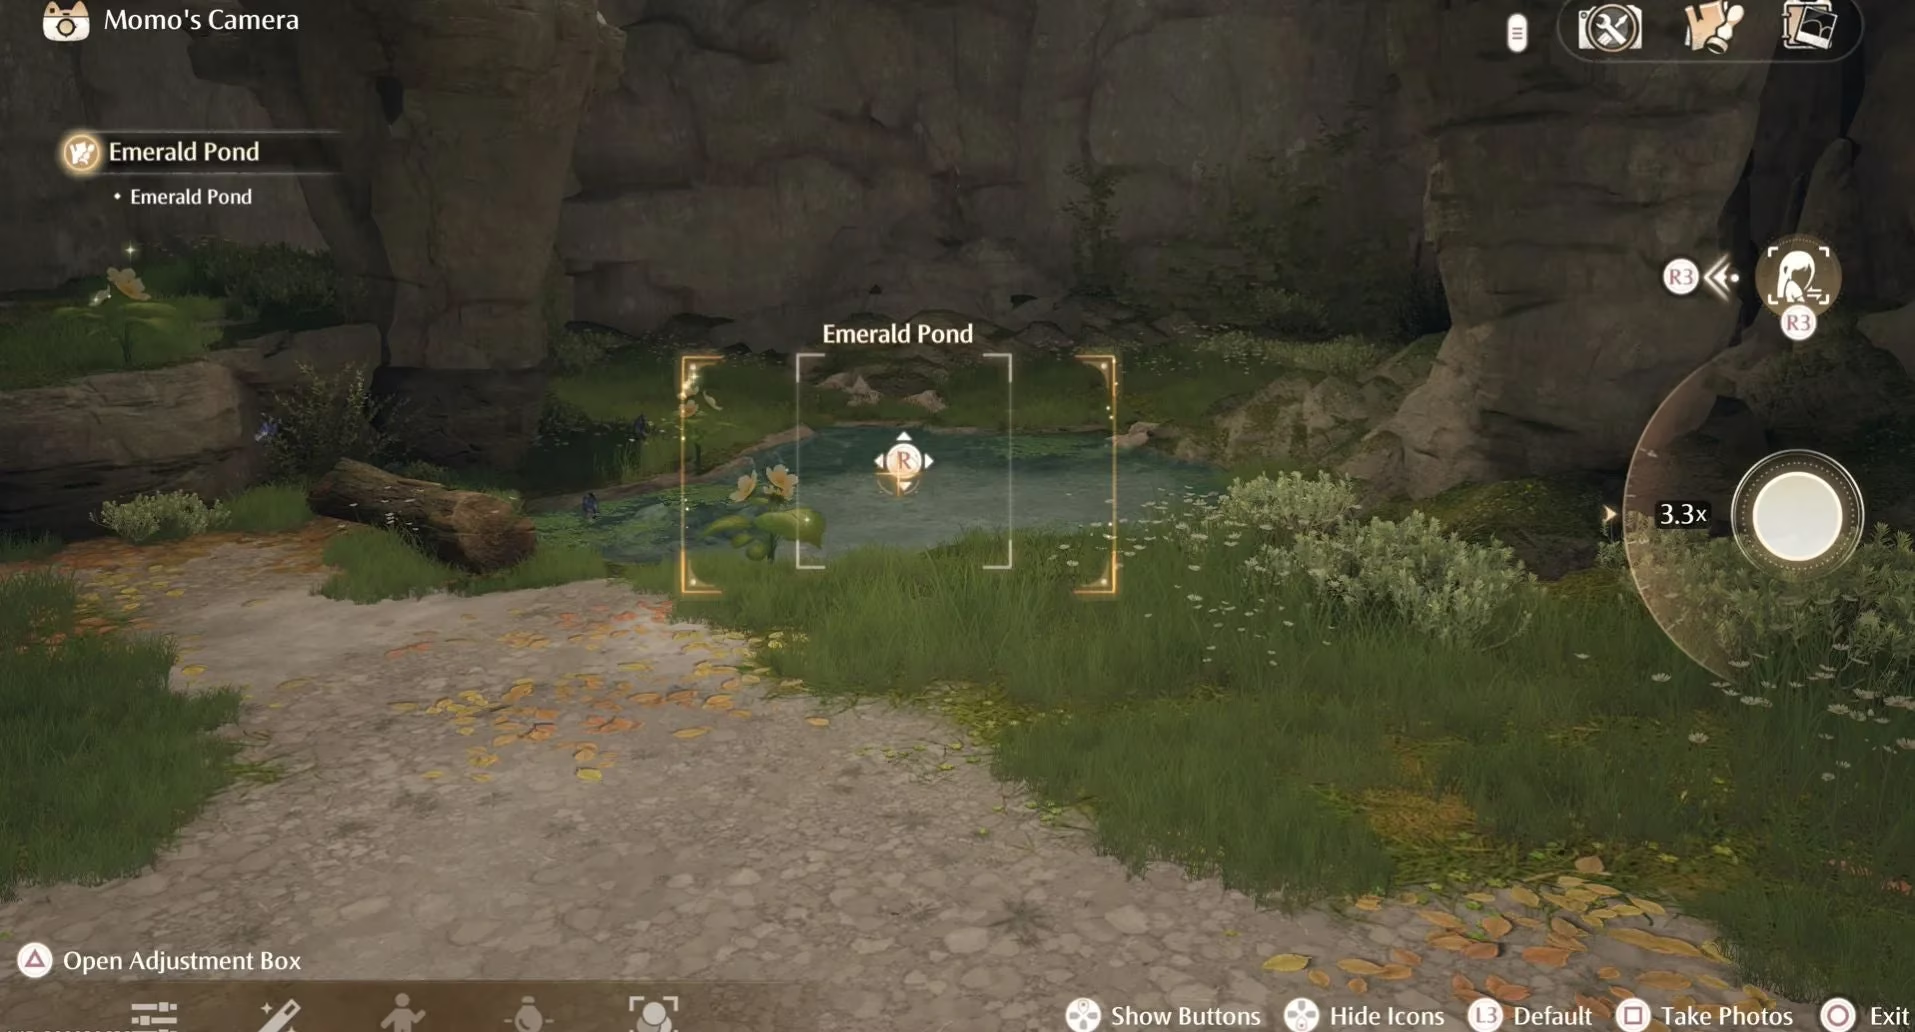
12. Emerald Pond: Deep inside the Warehouse Cavern. Stay on the lowest level, drop down when needed, and follow to the dead end. (P.S. There's a Whimstar here!)
-
13. Quiet Cenote: Inside the Riverside Cavern, west of the Stylist's Guild. Follow the river north to find the cave entrance, then follow the path to the pond and waterfall. (Another Whimstar hides here!)
-
14. Nonoy's House Mirror: In Nonoy's house in northern Florawish. The mirror is on the top floor, far-right room.
-
15. Sanctum of the Observant Altar: In the far southeastern part of Florawish, on the road to the Wishing Woods. Head inside and photograph the altar.
Florawish Interiors & Breezy Meadow (Locations 16-30)
Time to explore some buildings and the sprawling meadows.
-
16. Ray and Wing's Desserts: Inside the café, photograph the dessert counter.
-
17. Bibcoon's Chuckle Club Stage: East of the Wishing Tree. Head to the basement to find the stage.
-
18. Nonoy's Bedroom: Back to Nonoy's house, top floor. A slightly personal photo op!
-
19. Bug Catcher's Cabin: In the northern half of Breezy Meadow, amidst yellowish grass.
-
20. Blossom Forest: The cherry trees on the road leading up to the Art Academy Field Base.
-
21. Swan Gazebo: On the shoreline in the northern half of Breezy Meadow, where the lake forms a small cove.
-
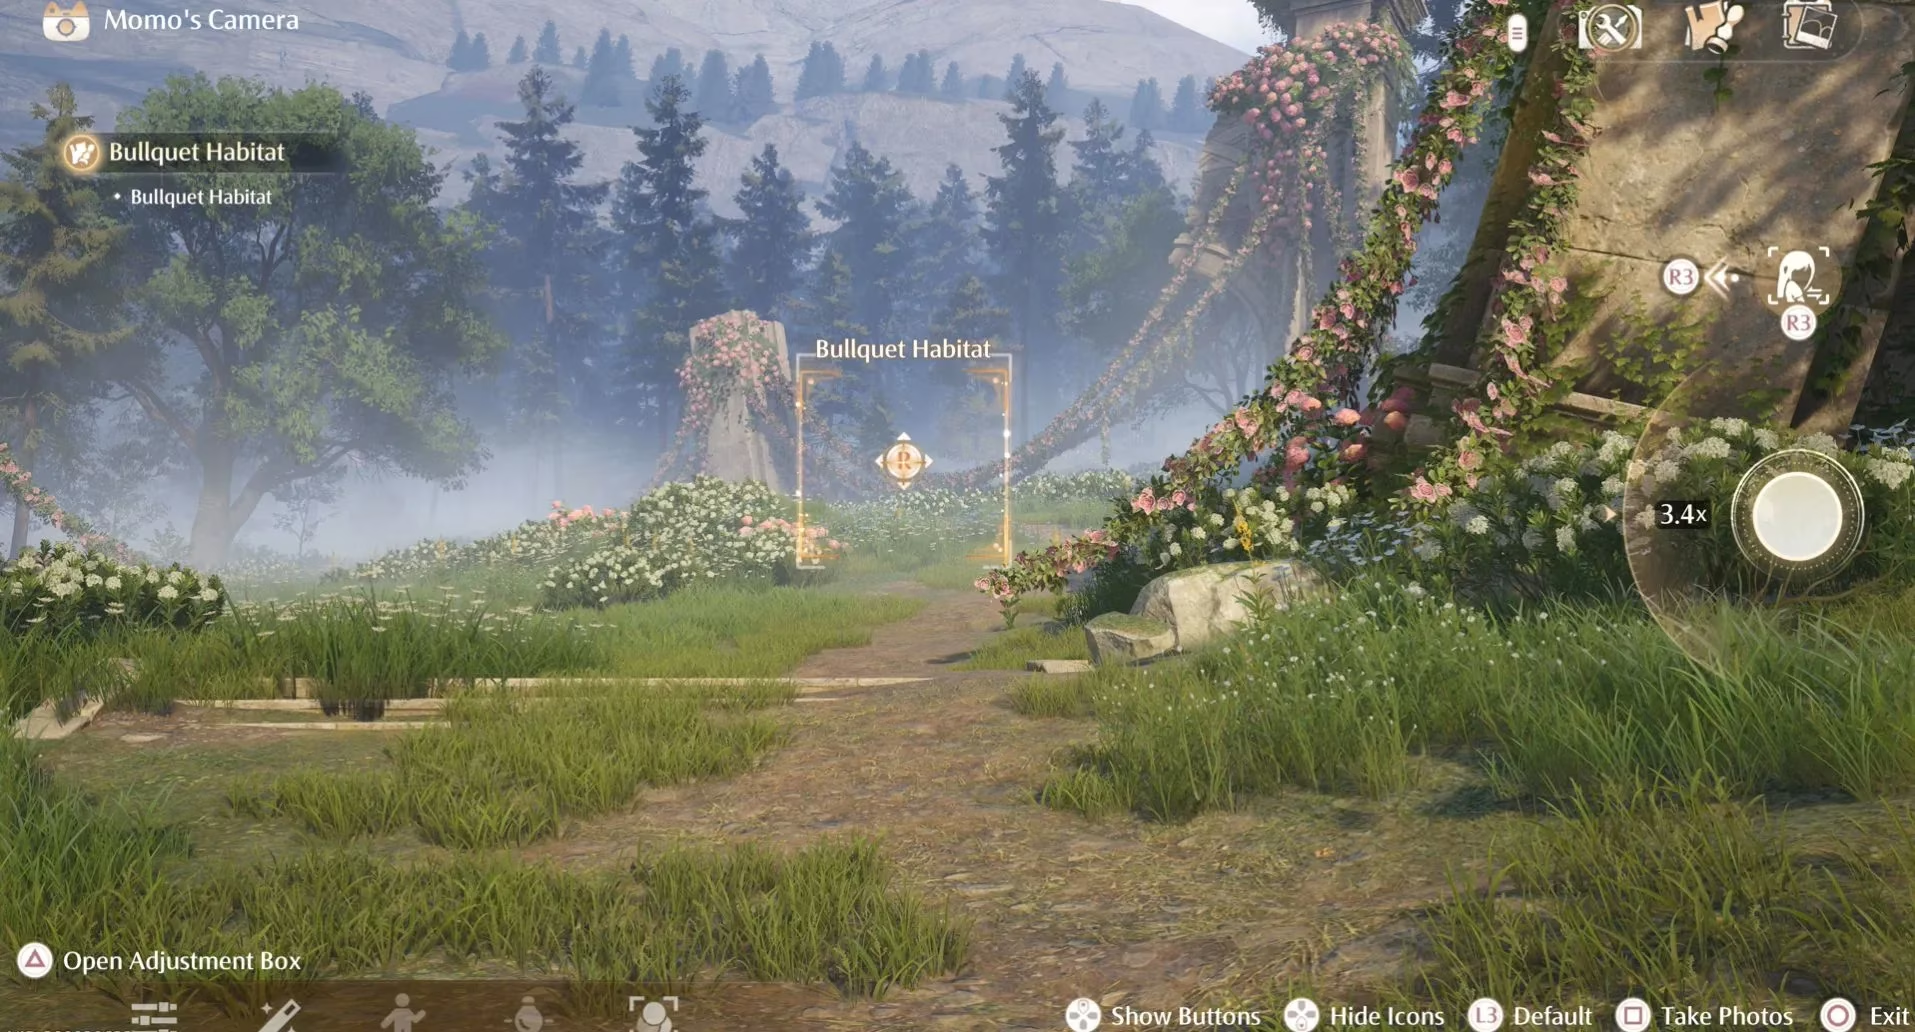
22. Bullquet Habitat: Tricky! In southern Breezy Meadow. From the Abandoned Fanatic Wisher Camp Outpost Warp Spire, go east, then take the first right path off the main road (or second left if coming from the stone bridge). Look for pillars and a Bullquet.
-
23. Queen's Palace Ruins Violin: In the ruined castle in Breezy Meadow. Find the main plaza and photograph the large violin statue.
-
24. Queen's Palace Ruins Broken Window: Requires parkour! In the same ruins, use a bird-jump platform near a broken staircase north of the violin. Use a giant leaf to get on the roof, then navigate up the tower (activate the Warp Spire!). Photograph the broken window at the top.
-
25. Art Academy Outdoor Stage: Just west of the main Art Academy Field Base, outside the stone wall.
-
26. Abandoned Fanatic Wisher Camp: A multi-step cave delve. From the Abandoned Fanatic Wisher Camp Warp Spire, defeat Esselings, cross a bridge, defeat more, find a gap in a fence, and drop into the Campsite Cavern. Navigate past a Whimstar chest, then descend a cliff until the prompt appears.
-
27. Shimmer Pond: Southeast of the Meadow Wharf. Head to the southern side of the first Breezy Meadow river, then go towards the lake and follow a river south. Visit during the day to avoid a Styling Challenge if you haven't perfectly defeated the Sovereign of Elegant yet.
Stoneville & Beyond (Locations 28-40)
These later locations often require story progression.
-
28. Stoneville Lake Structure: Photograph the large stone structure in the middle of Stoneville's lake.
-
29. Stoneville Overlook: After crossing the first bridge in Stoneville, climb the hills to the west (north side of the river). Stick close to the river to find this cliffside spot.
-
30. Stoneville Second Bridge View: On the second bridge in Stoneville, photograph the large building almost directly opposite you.
-
31. Lavenfringe Fields: After the second bridge, turn left, climb a small stone platform, and photograph the purple fields, aiming for a glass house.
-
32. Lavenfringe Fields House: The house on the far western side of the fields. Stop before you reach the Dye Workshop.
-
33. Abandoned District Windmill (Requires Ch. 4): On the first stonetree you visit in the Abandoned District. Use a rocky outcrop in the fields for a better angle.
-
34. Handsome Lads Circus (Requires Ch. 4): Once you reach the circus in Chapter 4, photograph the center ring.
-
35. Market of Mirth Stage (Requires Ch. 4): Fast travel to the Market of Mirth Summit Path Warp Spire, cross the unbroken bridge, and photograph the stage.
-
36. Choo-Choo Station Train (Requires Ch. 5): Inside the station, photograph the waiting train.
-
37. Wishing Woods Entrance (Requires Ch. 6): The prompt appears the moment you step into the Wishing Woods, right by the first Warp Spire.
-
38. Wishcraft Lab Entrance (Requires Ch. 6): On the small path leading to the lab.
-
39. Grand Milewish Tree View (Requires Ch. 6): From the Grand Tree Shoal Warp Spire, head towards a giant root, climb over it, jump down south, and find a spot between red plants. Photograph the mountain to the north.
-
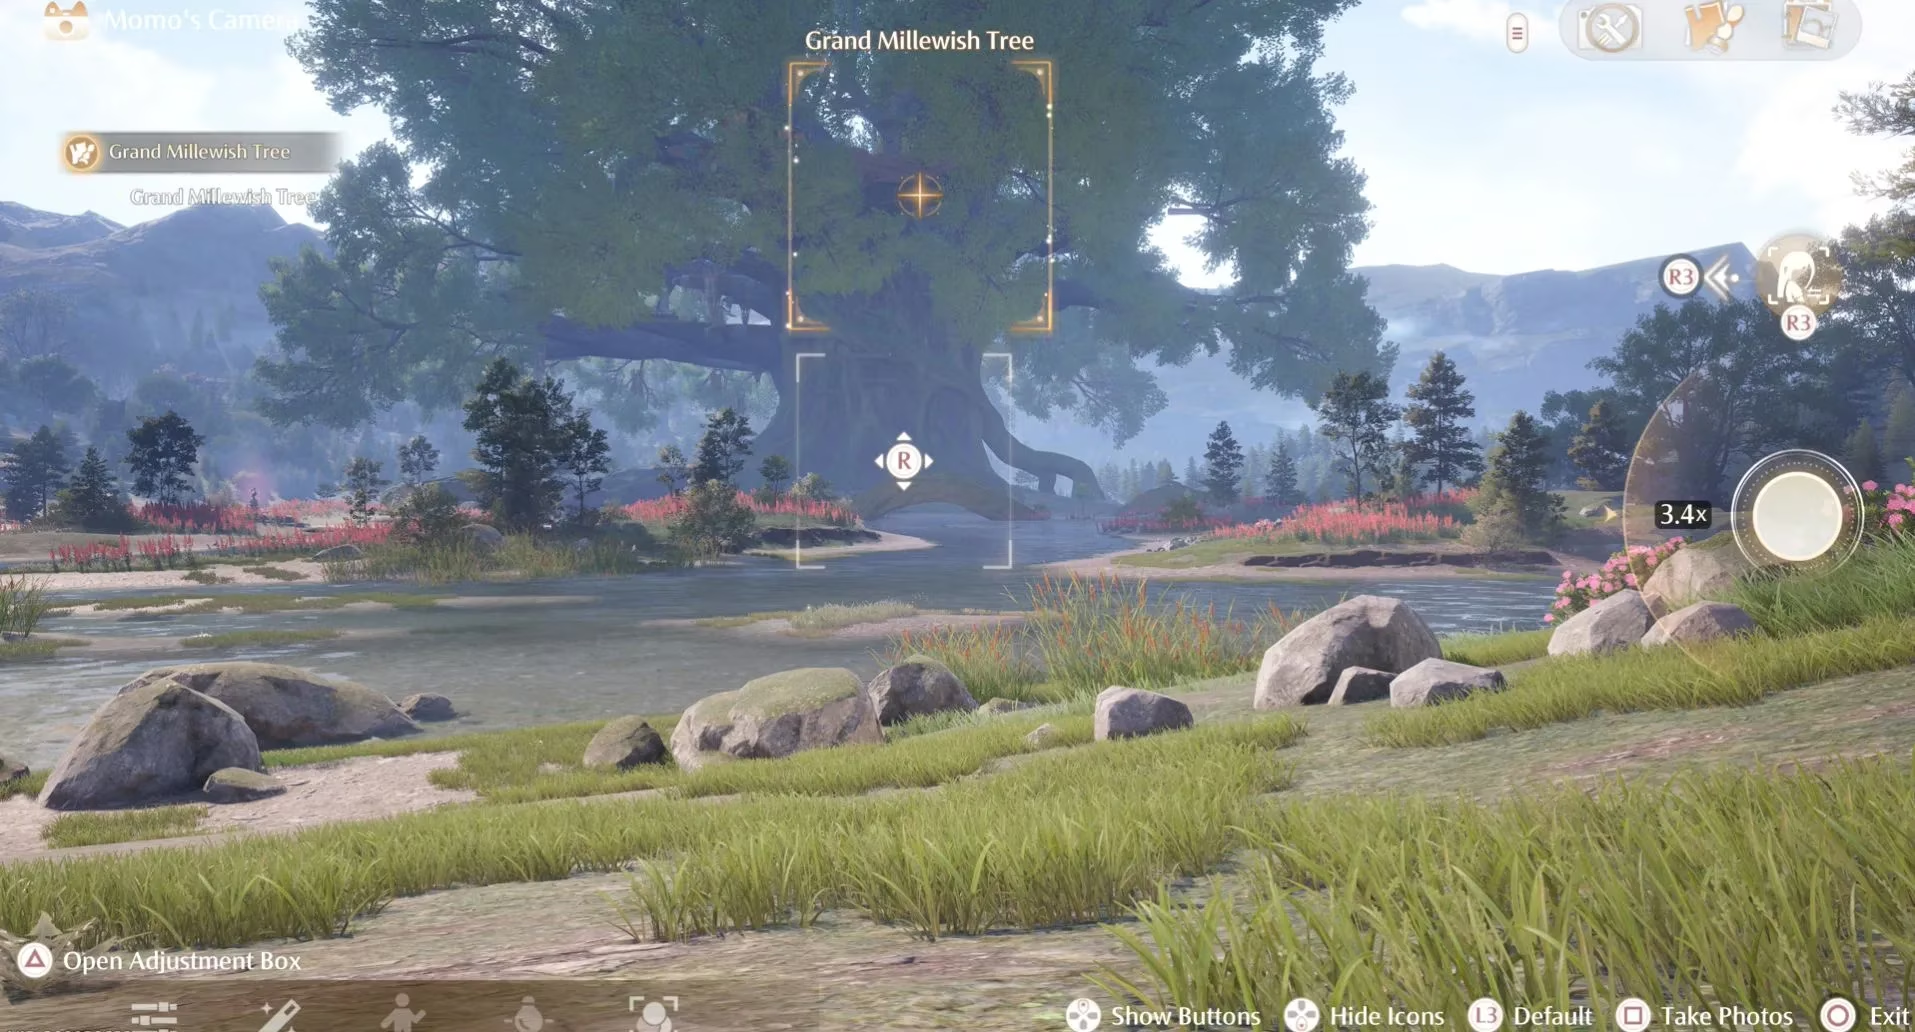
40. Grand Milewish Tree (Requires Ch. 6): Fast travel to the Shoal Slope Warp Spire, go north past the pink flowers, and photograph the majestic tree itself.
🎁 The Final Mystery: Expeditions: Wishfield Quest
After photographing all 40 locations, the Expeditions: Wishfield random quest will begin. Your final task is to find one last Mysterious Spot.
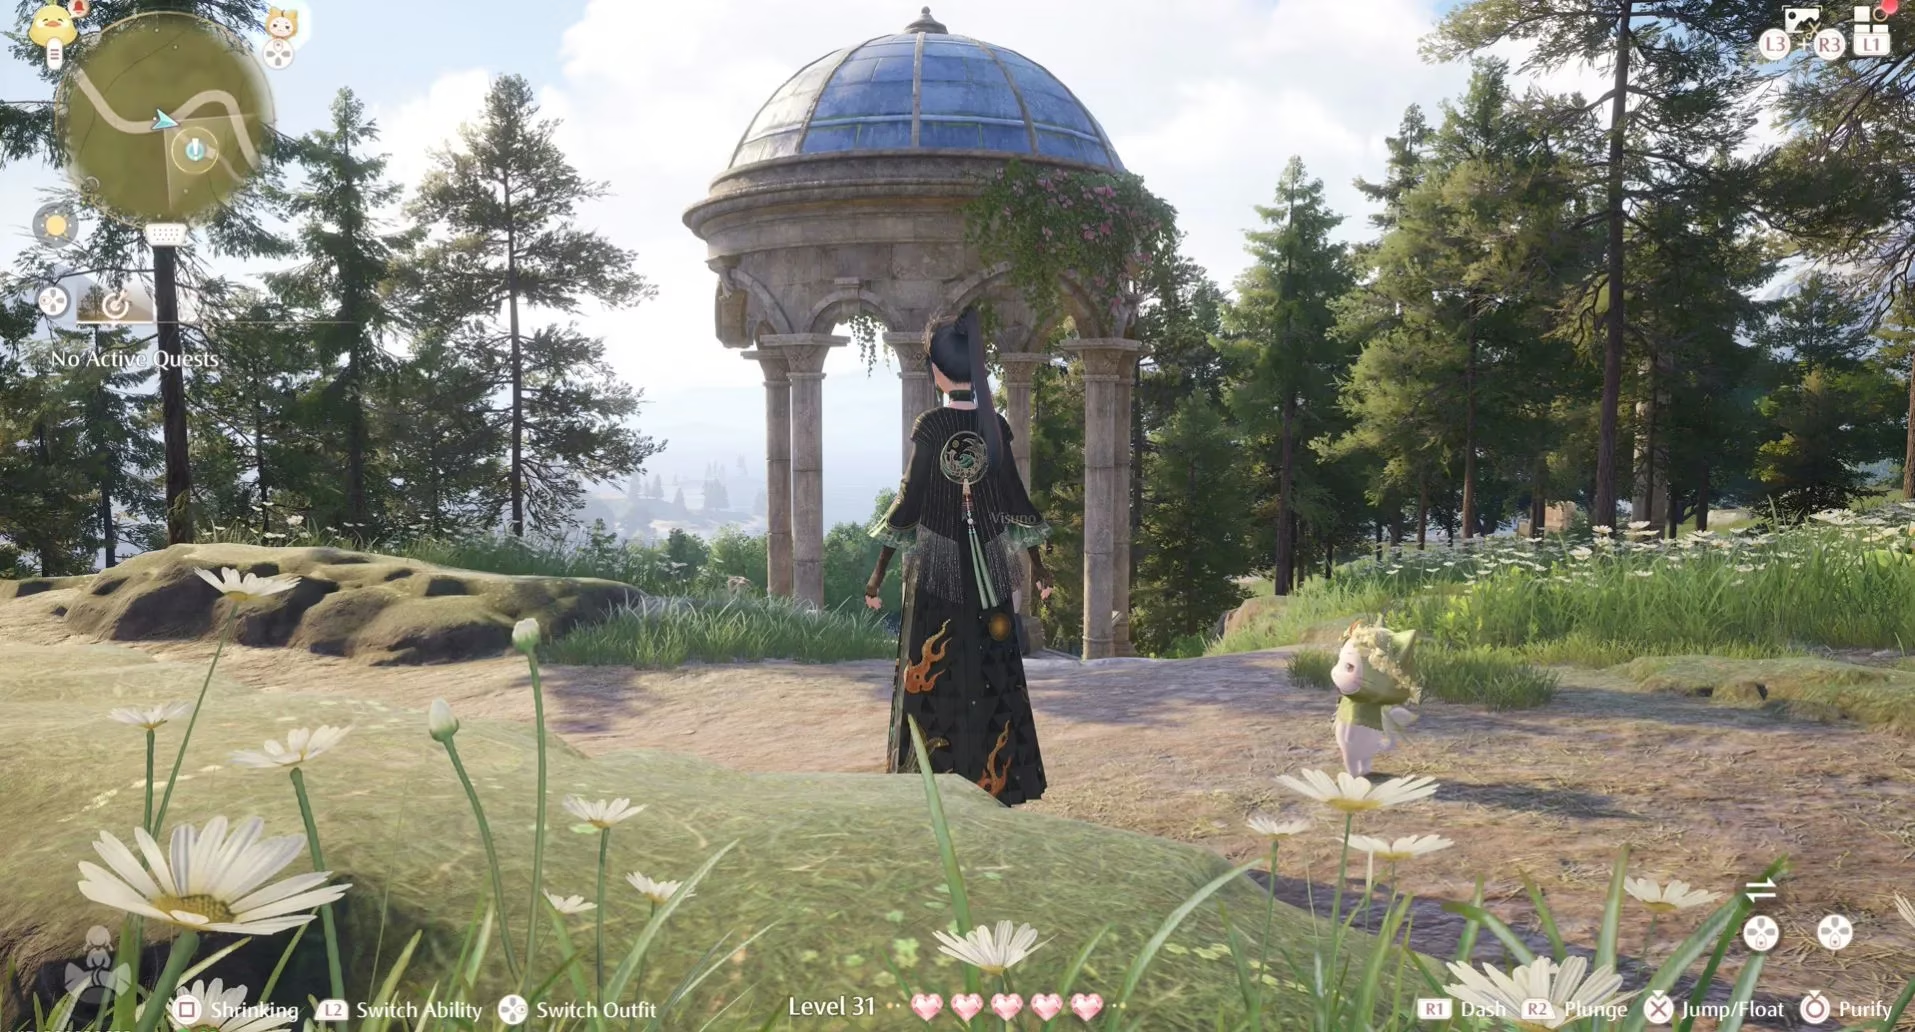
The clue sends you back to where it all began: the Memorial Mountains. Fast travel to the "Beside the Statue in the Old Florawish Memorial" Warp Spire and head south along the path. You'll discover the Star Pavilion.
Head inside and speak with Visuno, the Expedition Ambassador for Wishfield. After your chat, take your final photograph of the Star Pavilion and, of course, upload it.
Completing this final step will reward you with 20 Diamonds and the sketch for the Expedition Souvenir jumper, officially closing your Wishfield Expedition Handbook. It's a long journey, but the sense of accomplishment and the stylish rewards are more than worth the effort. Happy exploring and photographing, everyone!